
Amóni gives you one page per thing you own and one button per thing you can do to it. Below, we walk the sidebar top to bottom: what each page is for, and which guide goes deeper. Five minutes here saves you hunting for it later.
Dashboard
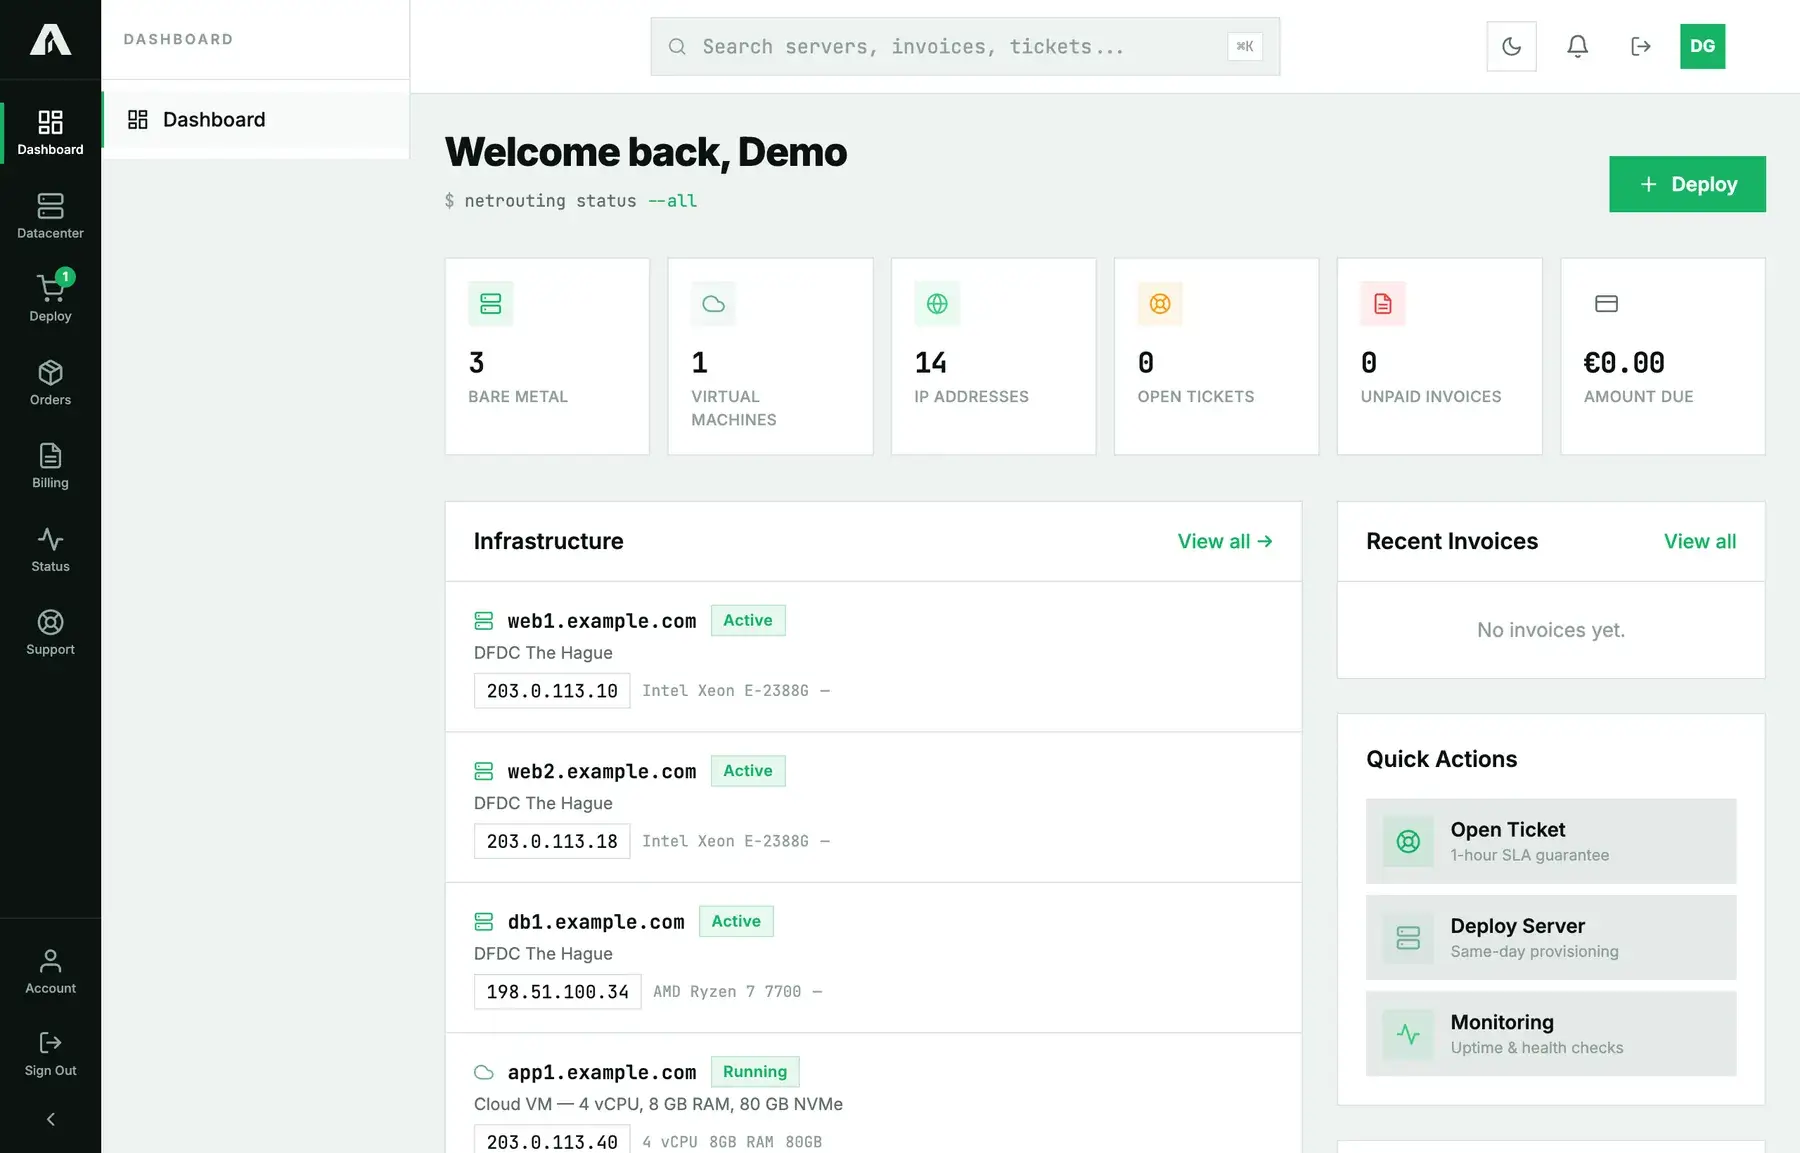
This is where you land after signing in. First come counters for bare-metal servers, virtual machines, IP addresses, open tickets and unpaid invoices, and each one links to its page. Underneath sit your infrastructure with power state and address, your recent invoices, and three quick actions (open a ticket, deploy a server, monitoring). When the account needs something from you, a banner shows up at the top: confirming your email, for example, or verifying your identity.
Datacenter
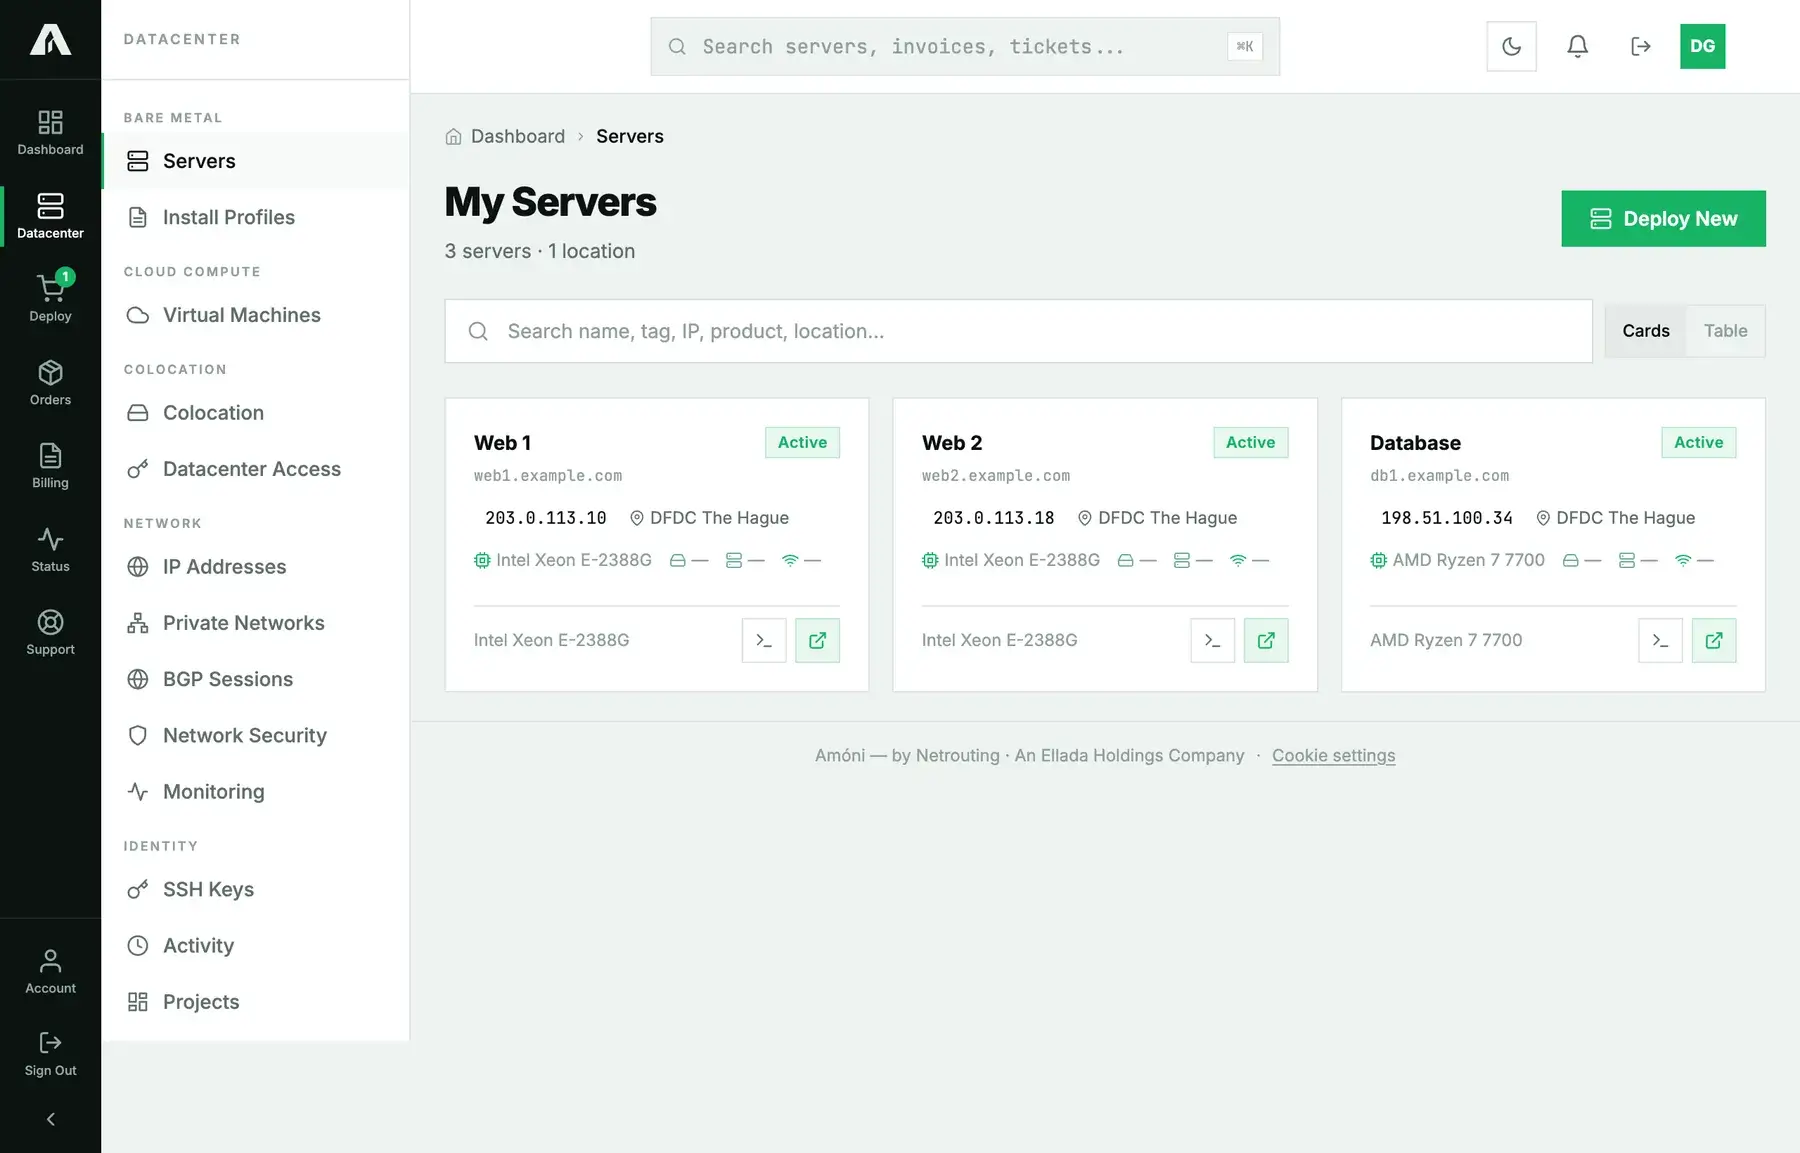
Everything you run lives here, grouped the way the infrastructure itself is built.
- Servers: your bare-metal machines. Click one to get its tabs: overview, network, console, reinstall, rescue, graphs, health and SSH keys. Most how-to guides begin on this page. Install Profiles is where you keep your own disk layouts and post-install scripts for reinstalls.
- Virtual Machines: your cloud instances. Each one has power, rebuild, firewall, snapshots, backups and insights.
- Colocation and Datacenter Access: your rack space, plus the place to request access or a work visit.
- IP Addresses: every address on the account with its reverse DNS, which you can edit right there (guide). Private Networks, BGP Sessions and Network Security handle VLANs, your own prefixes and ASN, and DDoS controls like blackholing. Monitoring gives you uptime checks with alerts.
- SSH Keys: store a key once and it's offered on every reinstall and rebuild (guide). Activity logs every action taken on the account, with who did it and when. Projects groups servers and VMs under a name you pick.
Deploy and Orders
Deploy takes you to the shop. Orders lists your services, grouped by the order that created them, with the price, the next due date and a cancellation request for each service. A setup that's still running gets its own progress page there. You'll find both covered in order your first server.
Billing, Status, Support
Billing is your invoices: pay one, download its PDF, see what's still outstanding (guide). Status tells you how our network and datacenters are doing, with a link to status.netrouting.com. Support holds your tickets and the form for opening a new one (guide).
Account
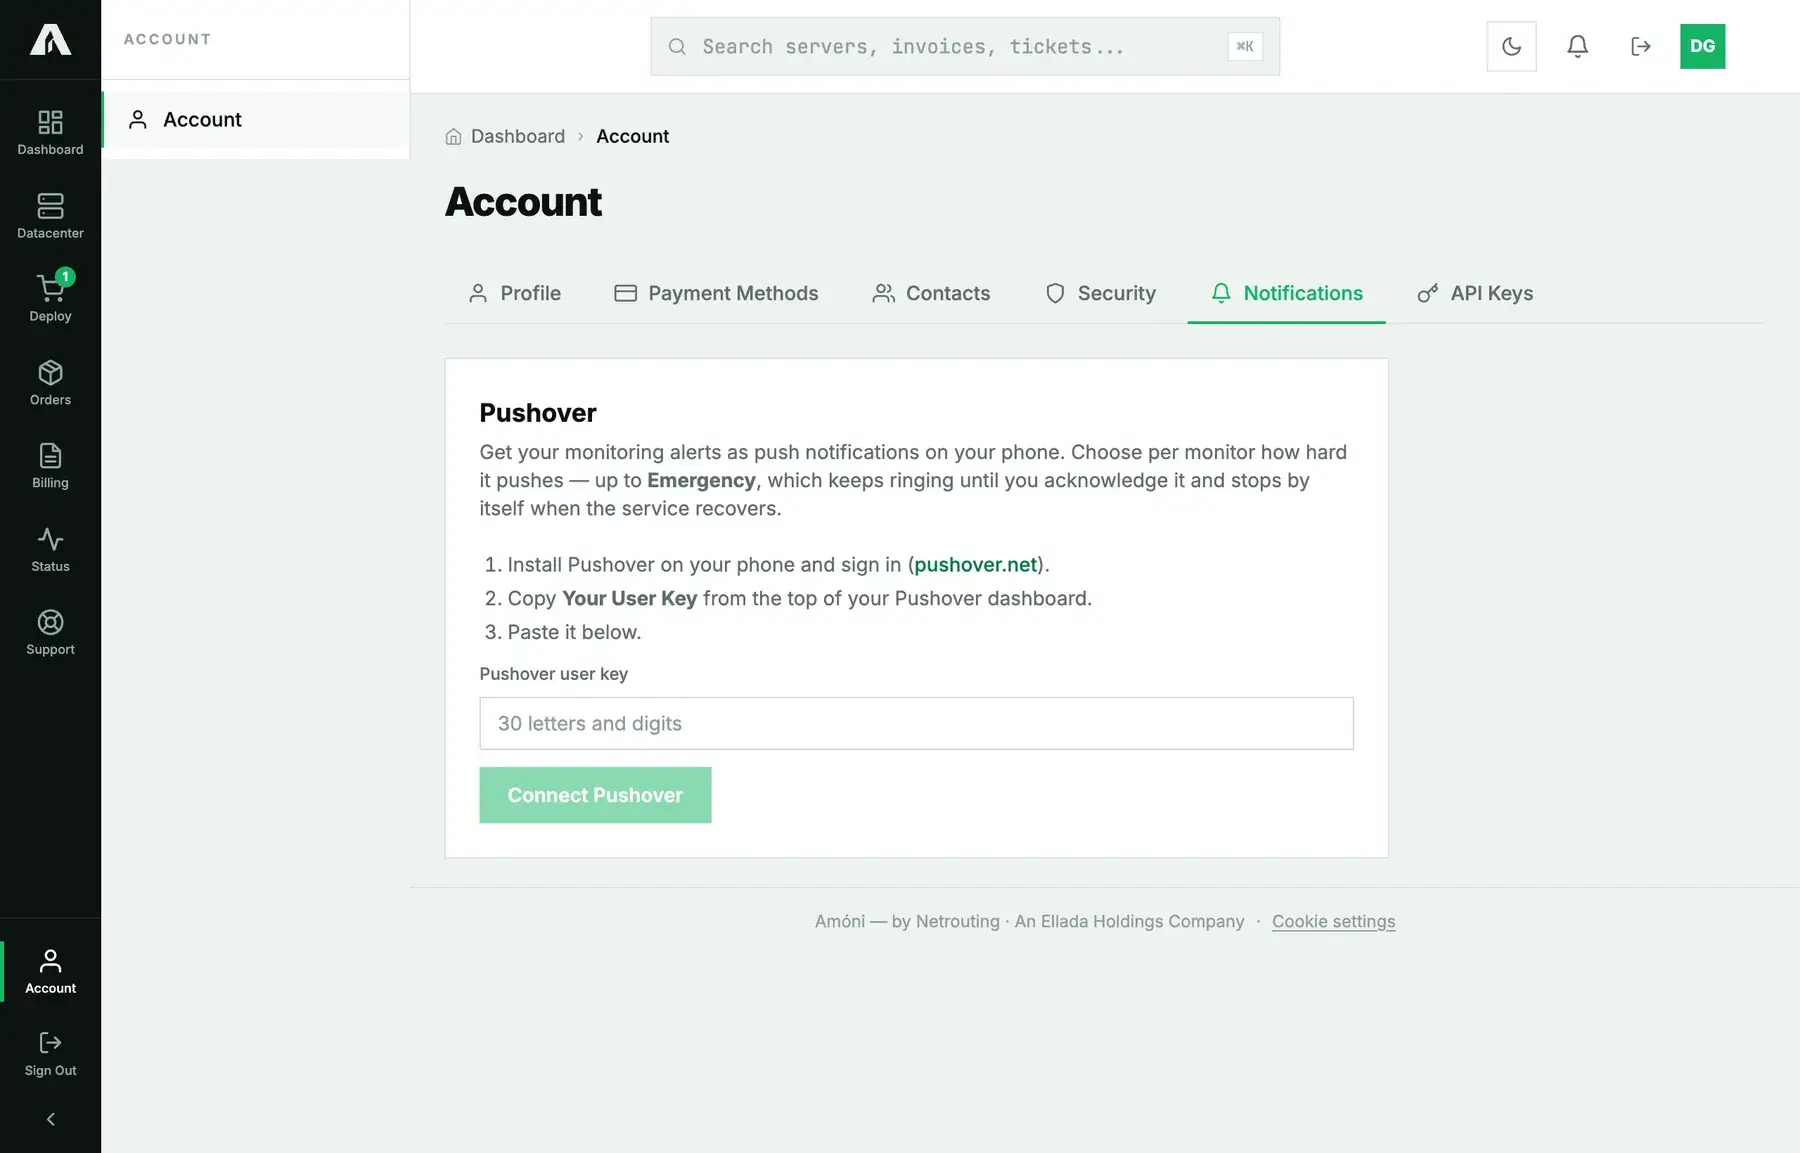
Six tabs here. Profile holds your name, company and address, and that's also what gets printed on invoices. Payment Methods keeps your saved cards and the auto-pay switch. Contacts decides who has access and who gets the invoices (guide). Security covers your password and two-factor authentication. Notifications hooks up Pushover so monitoring alerts land on your phone. Its emergency level keeps ringing until someone acknowledges it. API Keys is where you create scoped keys for the API.
The header
The bar across the top of every page holds four controls. Type in the search box (or press Ctrl+K, Cmd+K on a Mac) to find servers, invoices and tickets by name, address or number, and it jumps straight to them. The moon (a sun in dark mode) switches between the light and dark theme. The bell shows recent activity, and the last icon signs you out.
Partner
If your account is enrolled in the partner programs, you get one extra section with your tier, your rate card and the partner agreement.
Where to go next
- Nothing running yet: start with order your first server.
- A server that won't respond: try the power controls, then the remote console, then rescue mode.
- Getting the account set up properly: two-factor authentication, your team, auto-pay.